Lavender sachets;
Tutorial: This wee lavender cushion is a scented home decoration
with soothing and relaxing touch, waiting only for you! :)


Please let me know in the comments if you enjoyed the tutorial or if you have any questions. If you decide to make your own whale pillow, please let me know and send me a pic for my personal collection! I would love to see what you make.


This unique sachet is all sewn out of vintage cotton
and repurposed fabrics patches of linen.
Let's get started with the tutorial;
You will need the following;
1. Get your pieces of vintage repurposed fabrics
or other.
2. Ribbon of your choice color.
3. Scissors
4. Stuffing filling.
5. Lavender herbs.
6. Sewing machine.

All that you need is what you see here and the
stuffing plus your sewing machine.

Cut three pieces or make it with more
then three pieces of fabric;
and the back side in one piece.
You can make a pattern square in the size you desire,
this one is a 4" x 4" inches

Sew your pieces together for the front side
and here is how you need to put the ribbon to
hang the sachet. When you put together the fabrics to sew,
they have to be both right sides facing each other,
then when you sew then leave an opening in the bottom of the sachet.

You might want to iron the front and back pieces of
fabrics before sewing together or after.

Cut your heart, make a pattern if you need to and
then cut the heart using the pattern you created.

The heart all sewn in the center.

Here you can see the opening left to place in the filling,
don't use only a little amount of filling to make it a little puffy because you
will have to sew over it and you can't do it with too much stuffing inside.

Bring out the right side of the sachet after you sew
it all around leaving the opening.
Using this amount of stuffing is good and the lavender herb.

Stuffing in by the opening

Lavender herb
Sew the opening after you have put in
the stuffing and Lavender.
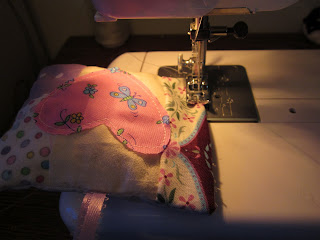
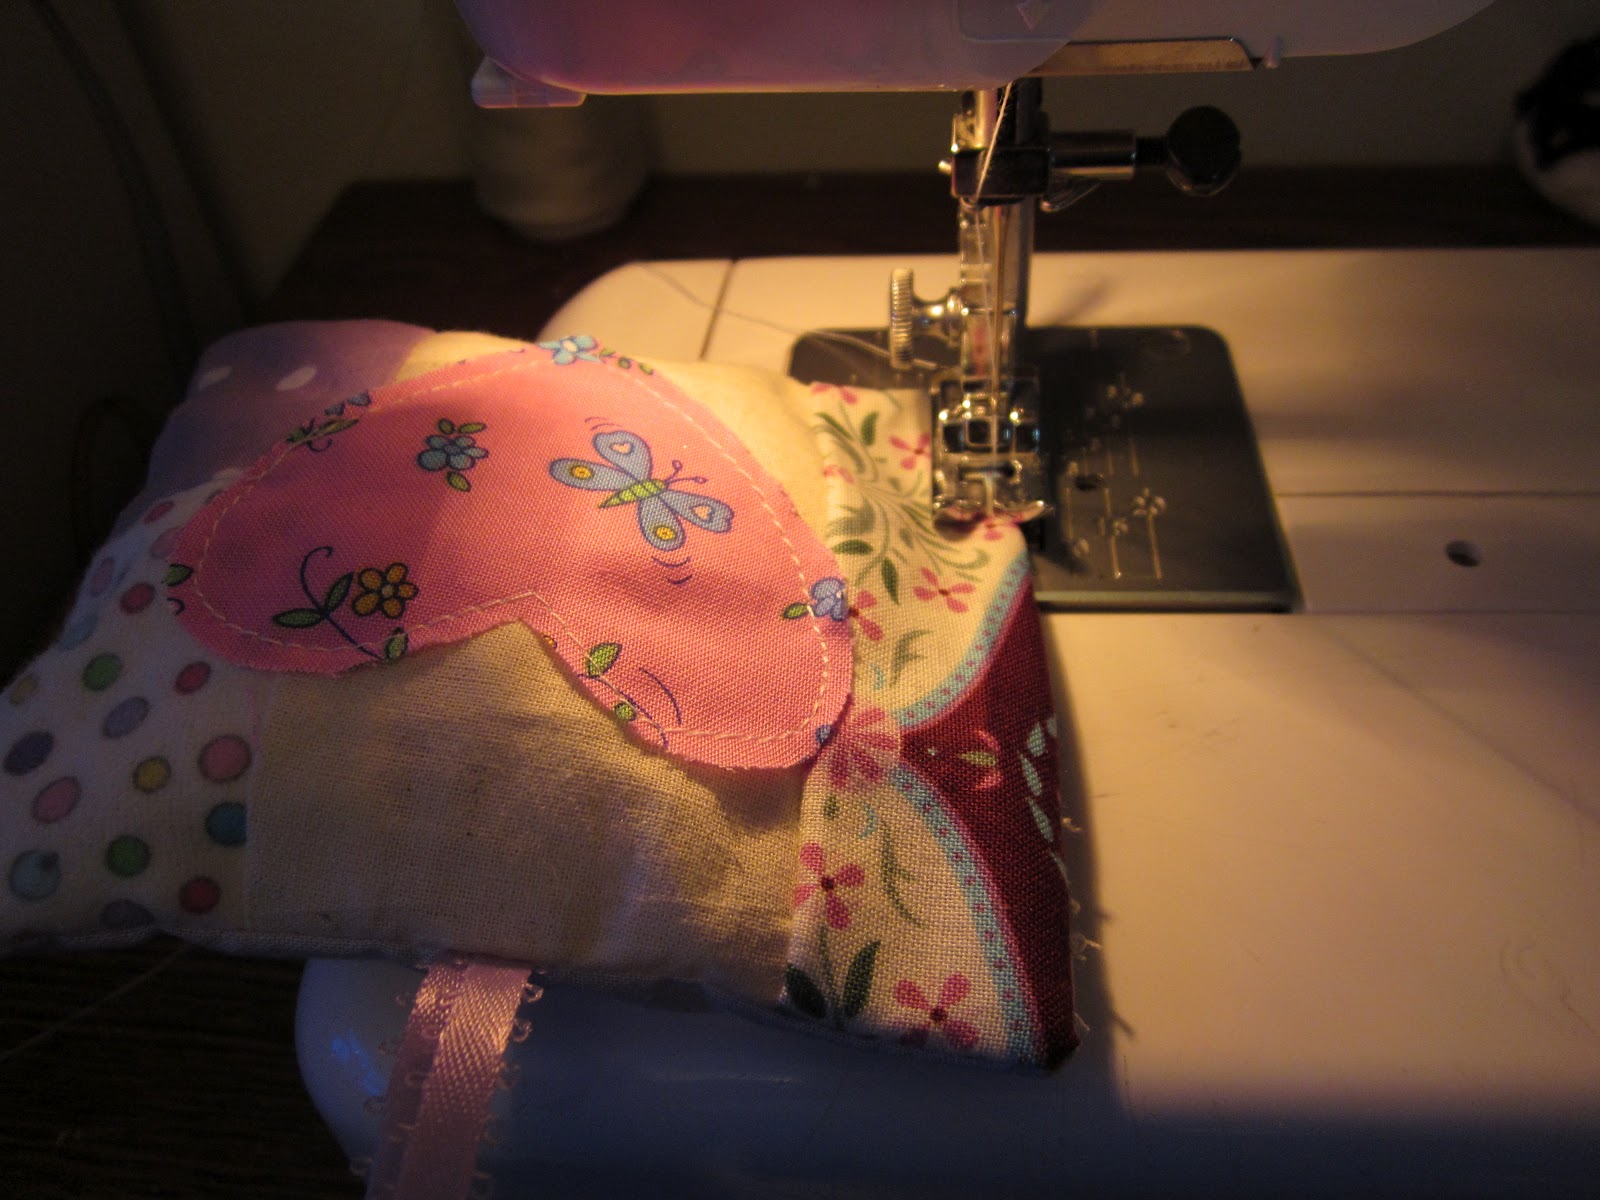
To make the effect you see here around the sachet,
I sewed it around the square about 1/2 inch in,
and it gives this look that makes it puffy

~I hope you enjoyed this tutorial and learned a little with me~
Stay tuned for more to come by your via email~
You might like;
Please let me know in the comments if you enjoyed the tutorial or if you have any questions. If you decide to make your own whale pillow, please let me know and send me a pic for my personal collection! I would love to see what you make.
If anyone need more instructions please do so and let me know, and I will be happy to help you..
my email is elenatoledocreations19@yahoo.com ♥
sew in love with craft is happy to see you here...♥
more tutorial projects at
~My love for craft is the reason I am here, ~
to show what I know and do it with love,
your visit here really makes me very
happy, I enjoy every minute with you here,
get inspire and make your own cute stuff.
I will be Happy to show you what I know and learned.
~Thank you for visiting , please Join and follow me~
~Elena
© 2012 - SEW IN LOVE WITH CRAFT
All images, text, or other content posted on this blog are property of the author, unless stated otherwise. You are welcome to link to this blog or use a single image and a brief description, as long as you include the blog's name in your link. You may NOT republish posts in their entirety without permission of the owner.
these are great as little gifts or just to put around the house. very cute
ReplyDeleteAs reported by Stanford Medical, It's really the ONLY reason women in this country live 10 years more and weigh 19 kilos lighter than us.
ReplyDelete(And by the way, it is not about genetics or some secret exercise and really, EVERYTHING around "how" they are eating.)
P.S, What I said is "HOW", not "what"...
CLICK on this link to reveal if this easy test can help you find out your true weight loss potential